Understanding Finish Trim: Types and Styles
Finish trim plays a vital role in elevating the aesthetic appeal and functional integrity of interior spaces. Whether it’s a sleek baseboard, decorative crown molding, or subtle casing around doors and windows, finish trim serves both decorative and practical purposes. For homeowners, designers, and contractors aiming for a polished look, understanding the various types and styles of finish trim is fundamental. From traditional ornate mouldings to minimalist contemporary profiles, the options are extensive, and selecting the right style can transform a space entirely.
To explore the broad spectrum of finish trim options, visit Finish trim and discover how different profiles and materials can complement your interior design. In this comprehensive guide, we will delve into common types of finish trim, popular styles, and how to match these elements to your specific room and overall design goals.
Common Types of Finish Trim and Their Uses
Finish trim encompasses a range of moulding profiles designed to neatly cover joints, transitions, and edges in interior spaces. Here are some of the most prevalent types:
- Baseboards: Installed at the bottom of walls, baseboards hide the seam between the wall surface and the floor. They also add visual weight and a finishing touch to a room’s foundation.
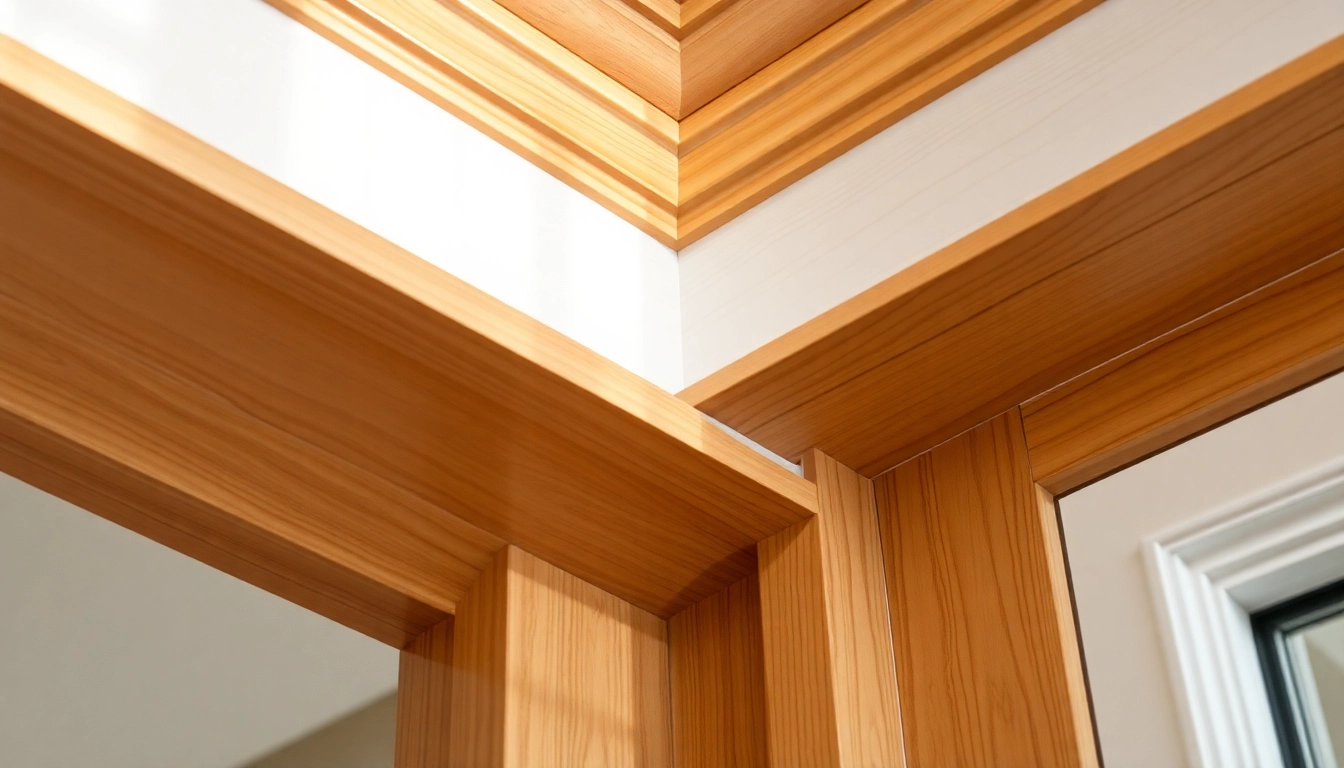
- Crown Molding: Usually found at the junction of walls and ceilings, crown molding adds elegance and creates a sense of height and grandeur.
- Casing: Frame around doors and windows, casing provides a clean transition and enhances architectural detail.
- Quarter Round and Shoe Moulding: Small mouldings placed at the base of baseboards, covering gaps and providing a streamlined look.
- Panel Mouldings: Used to add depth to wall surfaces, often seen in wainscoting and decorative wall panels.
Each type of finish trim serves specific functions, whether aesthetic (adding architectural interest) or practical (covering gaps, protecting surfaces). When selecting these elements, consider room function, style, and existing architecture.
Online retailers such as Home Depot offer extensive selections of finished mouldings suited to any project size or scope.
Popular Styles to Complement Your Interior Design
The style of finish trim should harmonize with your overall interior design theme. Here are some of the most popular styles:
Traditional and Ornate
This style features intricate carvings, layered profiles, and rich moldings. Often made from premium materials like solid wood, traditional trim complements classic décor, vintage architecture, and luxurious interiors.
Modern and Minimalist
Characterized by clean lines, flat profiles, and minimal detailing, modern finish trim aligns with contemporary design principles. Materials like MDF or PVC painted in matte or gloss can enhance sleek aesthetics.
Transitional
This blend combines traditional details with modern simplicity, offering flexibility to match various décor styles. Think of mouldings with subtle profiles and smooth finishes.
Rustic and Farmhouse
Natural wood finishes, distressed textures, and rougher profiles define rustic trim. It pairs well with warm color palettes and natural materials, creating cozy, inviting spaces.
Options abound to customize styles further, including decorative accents, profiles, and finishes. Websites like Nick’s Building Supply provide a variety of interior trim options suitable for various design visions.
Choosing the Right Finish Trim for Specific Rooms
Different rooms have distinct requirements and aesthetic goals, influencing the choice of finish trim. Here’s a detailed look at selecting the best options per space:
Living Rooms and Formal Spaces
Opt for elegant crown mouldings and substantial baseboards, perhaps with decorative profiles. High-end wood trims in finishes like oak or cherry can elevate grandeur and warmth.
Kitchens and Bathrooms
Prioritize moisture-resistant materials, such as PVC or specially treated wood trims. Keep profiles simple to facilitate cleaning and prevent water accumulation.
Bedrooms and Living Areas
Choose subtle, understated casing and baseboard trims that complement your furniture and color schemes. Light-colored finishes can brighten a space, while darker tones add sophistication.
Basements and Utility Spaces
Durability is key here. Use heavy-duty materials like MDF or PVC, and select profiles that can withstand higher humidity levels without warping or degrading.
Matching trim styles to room functions not only enhances aesthetics but also prolongs the lifespan of the trim installations.
Preparation and Planning for Installing Finish Trim
Measuring and Selecting the Correct Materials
Accurate measurement is fundamental for a professional-looking finish. Begin by measuring wall lengths, ceiling heights, and door/window dimensions to determine the amount and profiles of trim needed. Remember to account for waste and miter cuts, typically adding 10% extra material.
Material choice depends on budget, desired appearance, and room conditions. Popular options include:
- Narrow MDF: Cost-effective, easy to paint, suitable for most interiors.
- Solid Wood: Premium finish, durable, with authentic grain patterns.
- PVC and Urethane: Moisture-resistant, ideal for high-humidity areas.
Utilize online tools or professional software for precise calculations, and always source from reputable suppliers to ensure quality.
Tools and Techniques for Precise Cuts and Fitting
Achieving a seamless finish depends heavily on precise cuts and fittings. Essential tools include:
- Electric miter saw for accurate miter and bevel cuts
- Measuring tape and square for layout accuracy
- Nail gun or finishing nails for secure attachment
- Coping saw for detailed coped joints
- Sanders for smoothing cut edges
Mastering techniques such as coping joints for corners ensures tight, crisp miter joints that appear seamless. Maintaining sharp blades, calibration, and proper handling are crucial for high-quality results.
Surface Preparation for a Seamless Finish
Preparation begins with ensuring walls and ceiling surfaces are smooth, clean, and free of dust or debris. Filling holes or imperfections with spackle or joint compound prepares an ideal backdrop for trim installation.
For painted surfaces, lightly sanding the edges where trim will be installed promotes better adhesion. For raw surfaces, applying primer or stain-blocking primer enhances finish quality and durability.
Step-by-Step Guide to Installing Finish Trim
Securing and Attaching the Trim Correctly
Proper attachment methods are critical for a lasting finish. Use a finish nailer or hammer and finishing nails, placing fasteners approximately every 12 to 16 inches along the length of the trim. For larger or heavier pieces, additional nails or screws may be necessary.
Fasten trim into wall studs, ceiling joists, or anchor points, avoiding placements where nails might hit electrical wiring or plumbing. Countersink nails slightly below the surface and fill with wood filler or putty for smoothness.
Coping, Mitering, and Corner Finishing Tips
Achieving tight corner joints involves precise miter cuts—typically 45-degree angles—when installing outside corners. For inside corners, coping—cutting the face of one piece to match the profile of the adjoining piece—creates a seamless joint that adjusts to wall irregularities.
Tools such as a coping saw, miter box, and a protractor are invaluable. Always verify measurements before cutting, and test fit joints before nailing in place.
Finishing Touches: Sanding, Caulking, and Painting
After installation, lightly sand nail holes and miters for a smooth surface. Apply painter’s caulk along joints, corners, and edges to fill gaps and create a seamless transition. Once dried, sand the caulk for a flawless finish.
Prime and paint or stain the trim according to your design scheme. Use high-quality paint and appropriate sheen—satin or semi-gloss—on trim for durability and ease of cleaning. For best results, apply multiple thin coats, allowing proper drying time between layers.
Best Practices for a High-Quality Finish
Choosing the Right Paint and Sheen for Trim
Paint selection is pivotal for both aesthetic appeal and longevity. High-quality latex paints, such as Benjamin Moore Aura, provide a smooth, durable finish that resists scuffs and fading. Selecting the right sheen—typically satin or semi-gloss—enhances durability and facilitates cleaning.
When painting, ensure surfaces are clean, dry, and free from contaminants. Use quality brushes or rollers designed for trim to minimize brush marks and achieve a uniform appearance.
Techniques for Achieving Smooth, Flawless Surfaces
Apply paint or stain in thin, even coats, and avoid over-brushing. Sand lightly between coats for a polished look. Using a high-quality primer as a base can prevent bleed-through and improve color fidelity.
For stained trims, select appropriate wood stain and finish with a clear topcoat, such as polyurethane, for protection. Always test finishes on scrap materials to ensure desired results before application.
Common Mistakes to Avoid and Troubleshooting Tips
Common pitfalls include over-application of paint, improper measuring, and neglecting surface preparation. These issues can lead to uneven surfaces, visible gaps, or peeling paint. Regularly check fit and finish during installation and be meticulous about surface prep.
Address problems promptly—sand rough areas, reapply caulk or paint, and ensure all joints are tight. For persistent issues, consult specific product instructions or seek advice from seasoned finish carpenters.
Maintaining and Enhancing Your Finish Trim Over Time
Cleaning and Upkeep for Longevity
Routine cleaning involves dusting with a soft cloth or vacuum with a brush attachment. For stubborn dirt, use a mild soap solution and avoid harsh abrasives that could scratch or dull the finish. Maintaining a clean environment prolongs the appearance and prevents grime buildup.
Touch-ups and Minor Repairs Made Easy
Over time, trims may develop chips, scratches, or discoloration. Keep leftover paint or stain on hand for quick touch-ups. Use fine-grit sandpaper to smooth damaged areas before repainting or staining for seamless repairs. Small cracks or gaps can be sealed with caulk and painted over for a fresh look.
Upgrading or Replacing Old Trim for a Fresh Look
If your existing trim appears outdated or damaged beyond simple repair, consider replacing it with new profiles that better match your current style. Modern retrofit methods allow for quick upgrades with minimal disruption. When replacing, ensure proper measurement and installation to achieve a professional finish.